

1
Create your space
Choose personal, family, or business use. Add profiles, currency, and starting balances.
The Steps
- 1Sign up and verify access
- 2Set preferences and permissions
How It Works
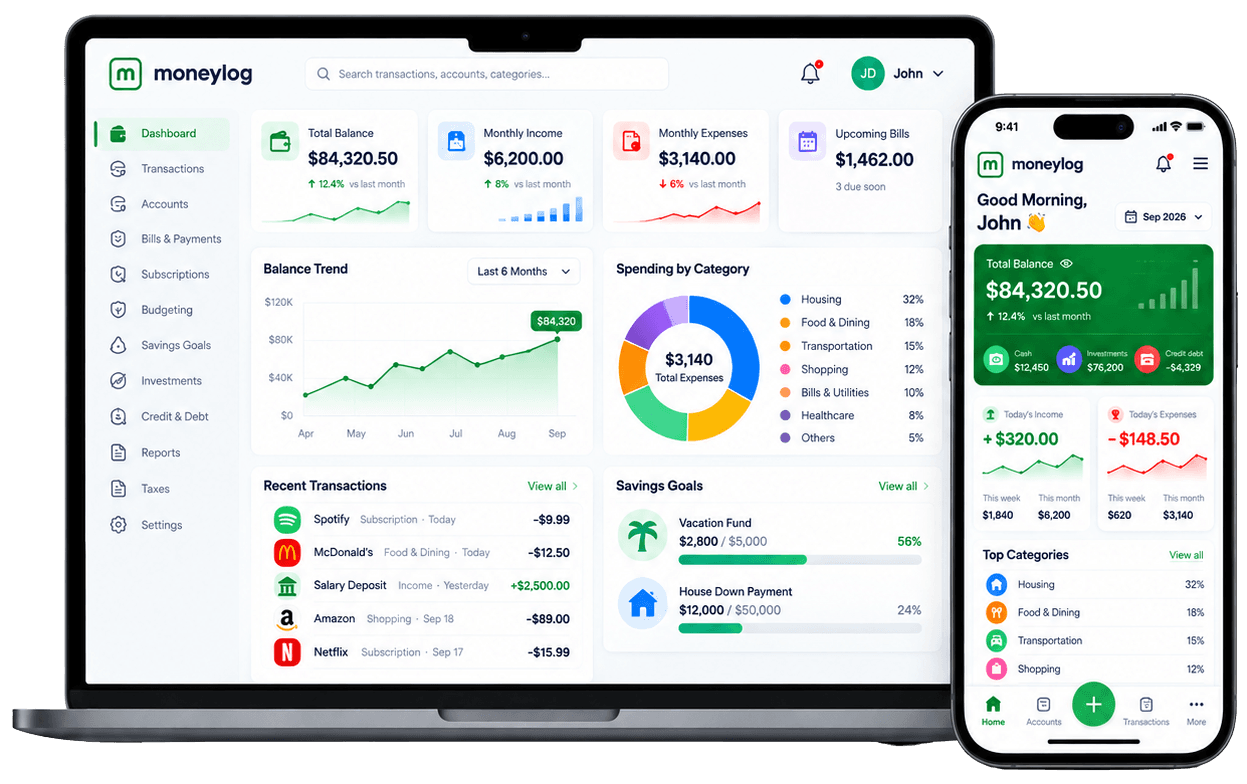
moneylog guides you from connecting your accounts and capturing transactions to budgeting, bills, savings, reports and ongoing financial insights — all in one place.
The Journey
Follow the arrows. Each card shows the action, the steps behind it, and why it matters.
Choose personal, family, or business use. Add profiles, currency, and starting balances.
The Steps
Link supported bank and card accounts, or import a file. Confirm the first sync before using the data.
The Steps
Bring in deposits, purchases, transfers, and cash entries. Edit details and attach notes as needed.
The Steps
See balances, income, spending, bills due, and goals in one place. Filter by account or date.
The Steps
Assign categories and tags so every dollar has context. Use rules for repeated merchants.
The Steps
Set monthly limits by category, then compare planned and actual spending as transactions arrive.
The Steps
Track household bills or create business invoices. Record due dates, status, and supporting details.
The Steps
Get reminders before due dates. Record a payment or reconcile it against an imported transaction.
The Steps
Keep recurring charges visible. Review renewal dates, price changes, and services you may cancel.
The Steps
Name a goal, set its target and date, and allocate contributions from available cash.
The Steps
Record balances, rates, and due dates. Compare payoff options and monitor payment progress.
The Steps
Attach receipts to transactions, tag deductible items, and collect documents for tax time.
The Steps
Compare income, expenses, net cash flow, trends, and categories across chosen periods.
The Steps
Surface unusual spending, upcoming shortfalls, and budget opportunities for your review.
The Steps
Use protected access and appropriate family or business permissions. Return each week to keep records current.
The Steps
Conceptual product workflow. Bank links, payments, insights and integrations depend on implementation and your own setup.